Live streaming an event isn’t just about pointing a camera at the stage and hitting record. If you’ve ever tried it, you know how quickly things can go wrong-audio cutting out, video freezing, or worse, no one shows up because the stream link didn’t work. But done right, live streaming a concert or live event can reach thousands of fans who can’t be there in person. It’s not magic. It’s planning. And here’s how to do it right.
Are you streaming for fans? For ticket sales? For brand exposure? Each goal changes what gear you need and how you promote the stream. If you’re a small band trying to build a fanbase, you don’t need a 4K drone cam. But if you’re a festival organizer, you need redundancy, multiple camera angles, and a backup stream path. Start with this: What’s the one thing you absolutely need to happen? If it’s selling merch during the stream, then you need a clean, clickable link that works instantly. If it’s capturing the energy of the crowd, you need mics that pick up applause, not just the bass.
Not all streaming platforms are made equal. YouTube Live handles high traffic better than most. Twitch is great for music-focused audiences who expect interaction. Facebook Live is easy for fans already on the platform. Instagram Live? Only if you’re doing a 15-minute acoustic set. For concerts, stick with YouTube or Twitch. They handle bitrate better, support longer streams, and have better mobile viewing. YouTube also lets you monetize the stream afterward and saves it automatically. Twitch has chat features that turn viewers into participants. Pick one. Don’t try to stream to five platforms at once-that’s how you end up with a 30-second delay on one and a black screen on another.
You don’t need a $10,000 rig. Here’s what works:
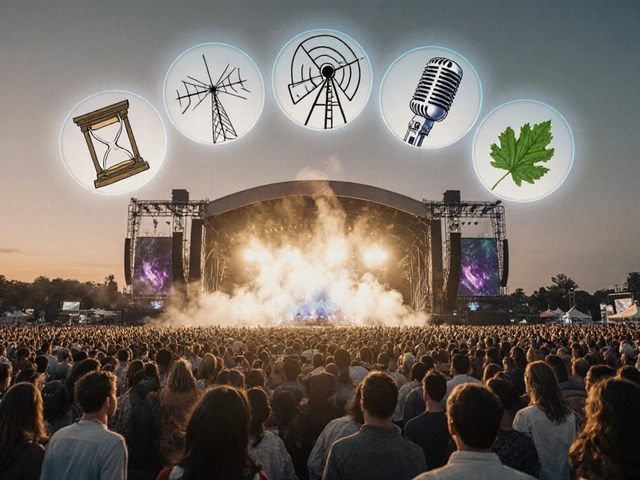
Every live stream fails at least once. It’s not if-it’s when. So build a backup. Here’s how:
A blurry video? People forgive it. Bad audio? They leave. For a concert, you need layered audio:
Use a mixer like the Behringer X32 or Mackie DL32R. It lets you balance levels in real time. Never let the engineer adjust levels during the show-set them before and lock them. Then, use a compressor to keep peaks from clipping. Test this with a full rehearsal. Play the loudest song. Listen through headphones. If it sounds distorted, lower the gain. Repeat until it’s clean.
Don’t just use one camera. Use three:
Switch between them manually or use a switcher like the Blackmagic ATEM Mini. If you’re on a budget, use OBS Studio to switch between camera feeds on a laptop. Make sure the wide shot is always active as a fallback. People want to feel like they’re there-not staring at a headshot for 45 minutes.
Streaming won’t work if no one knows about it. Start promoting two weeks out:
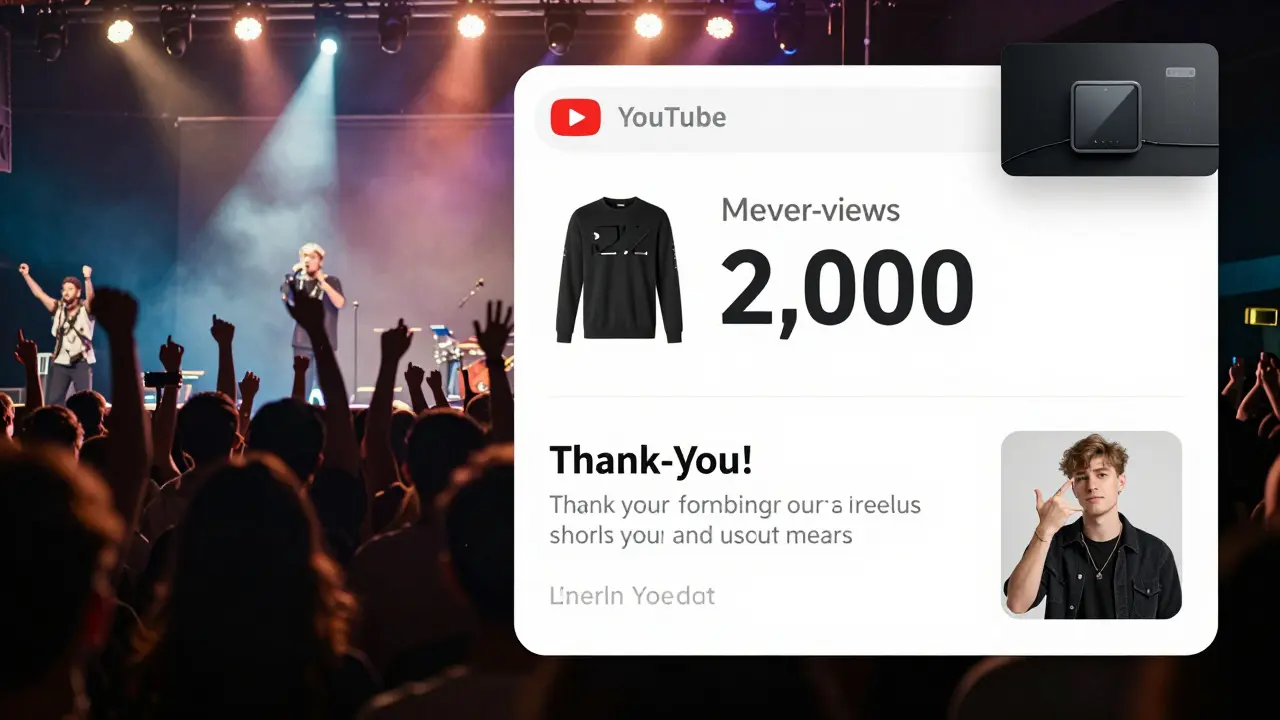
Track views in real time. If you hit 500 viewers, announce it on screen. People love being part of something big. If you hit 2,000, thank them. It builds loyalty.
If you’re streaming a live concert, you don’t own the music. You need rights. Even if it’s your own band, if you’re playing a cover song, you need a license. In the U.S., use ASCAP or BMI. In the UK, use PRS for Music. In Australia, APRA AMCOS. Most platforms (YouTube, Twitch) have automated systems that mute covers, but they don’t protect you from lawsuits. If you’re streaming original music, you’re fine. If you’re covering "Sweet Caroline," you need permission. Don’t assume it’s okay. It’s not.
Do a full dry run at least three days before the event. Same time. Same location. Same gear. Pretend it’s the real thing. Stream for 30 minutes. Change camera angles. Test the backup internet. Send the link to 10 friends and ask them to report lag, audio sync, or black screens. Fix everything. Then do it again. If you skip this step, you’re gambling with your audience’s trust.
Don’t just turn everything off. Archive the stream. Upload it to your YouTube channel as a VOD. Add timestamps for key songs. Create a downloadable version for fans who want to own it. Send a thank-you email with a link to the replay. Ask for feedback. What did they like? What sucked? Use that to make the next stream better.

Rae Blackburn
I streamed my cousin's wedding and the whole thing got taken down because YouTube flagged the background music. Turns out the DJ played a song that had a 3-second sample from a Taylor Swift track. Now I'm convinced every live stream is secretly being monitored by AI bots that hate joy. No one warned me. No one. I'm still traumatized.
LeVar Trotter
The gear recommendations here are solid, but let’s not overlook the importance of QoS (Quality of Service) prioritization on your router. If you're using a consumer-grade ISP, ensure your encoder's IP is marked as high-priority in the QoS settings. Also, consider using a dedicated VLAN for streaming traffic to minimize latency spikes. Most users don’t realize their router is treating their stream like a Netflix binge. It’s not.
Aafreen Khan
bro why are u using a $10k camera when u can just use ur iphone lmao also who even has a verizon hotspot anymore? i used my aunt's jiofi and it worked better than my home wifi 😎
Pamela Watson
You said don't use Wi-Fi but what if you live in an apartment and the only way to get internet is through a router that's in the next room? I tried Ethernet and it just didn't work. Now I just pray and hope.
michael T
I had a stream where the audio cut out because the mixer overheated. I screamed into the mic for 20 minutes while the crowd clapped. It was beautiful. The internet is a graveyard of failed streams. I’ve seen more dead streams than I’ve seen live concerts. And I’ve been to 37.
Christina Kooiman
There is a grammatical error in the section titled 'Sound Is 70% of the Experience.' It reads, 'Never let the engineer adjust levels during the show-set them before and lock them.' There should be a period after 'show' and a capital 'S' in 'set.' This is not a minor oversight. It undermines the credibility of the entire guide. Also, the Oxford comma is missing in the list of mics. That’s a crime.
Stephanie Serblowski
I love how this guide treats streaming like a science experiment. 🤓 Meanwhile, I’m over here using a $20 USB mic, a phone on a stack of books, and a Wi-Fi connection that’s basically a prayer. But guess what? We hit 8K viewers. Because people don’t care about 4K if you’re real. The magic isn’t in the gear-it’s in the heart. 💖🎤 #LiveStreamTruth
Renea Maxima
We treat live streaming as a technical problem, but isn’t it really a metaphysical one? The stream is a ghost of presence-an echo of a moment that can never be replicated. The gear, the backups, the Ethernet cables-they’re all just symbols of our fear that the ephemeral will vanish. And yet, we still try. Isn’t that beautiful? Or tragic?
Jeremy Chick
You think you’re prepared? I once had a stream where the camera fell off the tripod and landed on a cymbal. The whole thing went viral because it sounded like a drum solo. People thought it was choreographed. It wasn’t. It was chaos. And chaos wins every time. Stop overthinking. Just go live.
Sagar Malik
The reliance on Western infrastructure is naive. In India, we’ve been streaming on 2G networks with Android 4.0 devices since 2014. You think Ethernet is essential? We use solar-powered routers with satellite fallback. Your 10 Mbps upload is a luxury. The future of live streaming is not in Teradek-it’s in grassroots resilience.
Seraphina Nero
This was so helpful. I’m a solo artist and I’ve been too scared to stream. But now I feel like maybe I can try. Thank you for being so clear. I’m going to start with my phone and one mic. No fancy stuff. Just me and my songs. 💕
Megan Ellaby
i tried streaming last month and my cat walked on the keyboard and muted the mic for 10 mins. i thought the whole thing was dead but people kept typing "cat?" in chat. so i just let her nap on the mic. it got 2k likes. i think i found my niche. furry live streams ftw 🐱
Rahul U.
Excellent breakdown. One addition: always test your stream with a regional CDN node if possible. For Indian audiences, using AWS CloudFront with edge locations in Mumbai or Delhi reduces latency by 300ms+. Also, ensure your stream title includes the timezone-many international fans miss events because they assume UTC.
E Jones
They say backup internet is a must. But what if the backup is the same provider? What if Verizon, AT&T, and T-Mobile all share the same backbone? What if the entire grid is controlled by a single corporation that’s been bought by a shadowy conglomerate that also owns the streaming platforms? You think you’re safe? You’re just one corporate merger away from a black screen. They’re watching. They always are.
Barbara & Greg
It is imperative to note that the ethical responsibility of the streamer extends beyond technical proficiency. One must consider the cultural, emotional, and spiritual well-being of the audience. To reduce art to a technical checklist is to commodify the sacred. The microphone is not a tool-it is a vessel. The camera is not a lens-it is a mirror. And we, as conduits, must approach this with reverence.