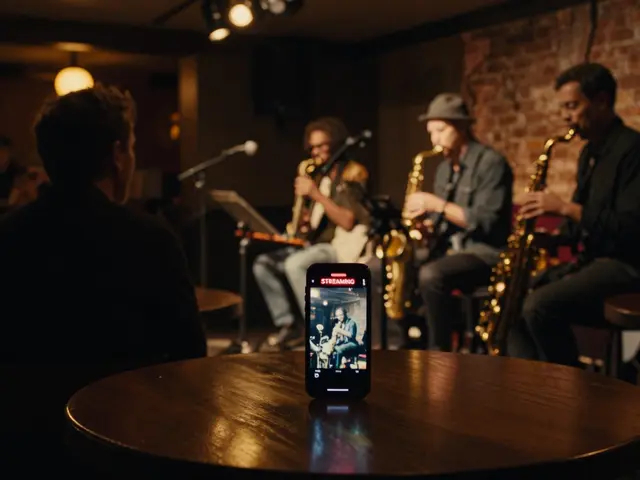
Streaming a live performance isn’t just about turning on a camera and hitting record. If you’ve ever tried it before, you know how quickly things can go wrong-audio cutting out, video lagging, viewers dropping off, or worse, your entire set getting interrupted by technical glitches. The good news? With the right setup, you can deliver a professional-grade live stream that feels like being there in person. This guide breaks down exactly how to do it, step by step, whether you’re a solo artist, a band, or organizing a venue event.
If you’re streaming to multiple platforms at once, use a service like Restream or StreamYard. They let you broadcast to YouTube, Facebook, and Twitch simultaneously. But be careful-some platforms ban simulcasting if you’re not using their native tools. Always check the rules before you go live.
Start with a digital audio interface-something like the Focusrite Scarlett 2i2 or Universal Audio Volt 276. These let you connect XLR mics for vocals and instruments directly to your computer. Use dynamic mics like the Shure SM58 for vocals and dynamic instrument mics like the Shure Beta 52A for kick drums. Condenser mics (like the Audio-Technica AT2020) work well for acoustic guitars or overheads, but only if your room isn’t too echoey.
Never rely on laptop mic input. It’s designed for voice calls, not live performance. Even the best interface won’t help if you’re feeding it a line-level signal from a mixer without a proper gain stage. Always monitor levels: if your peak hits -6dB, you’re good. If it hits 0dB, you’re distorting.
For bands, consider using a small digital mixer like the Behringer X32 Compact. It lets you balance levels, apply EQ, and send a clean stereo mix to your streaming computer via USB. You can even route individual tracks to separate channels for later editing.
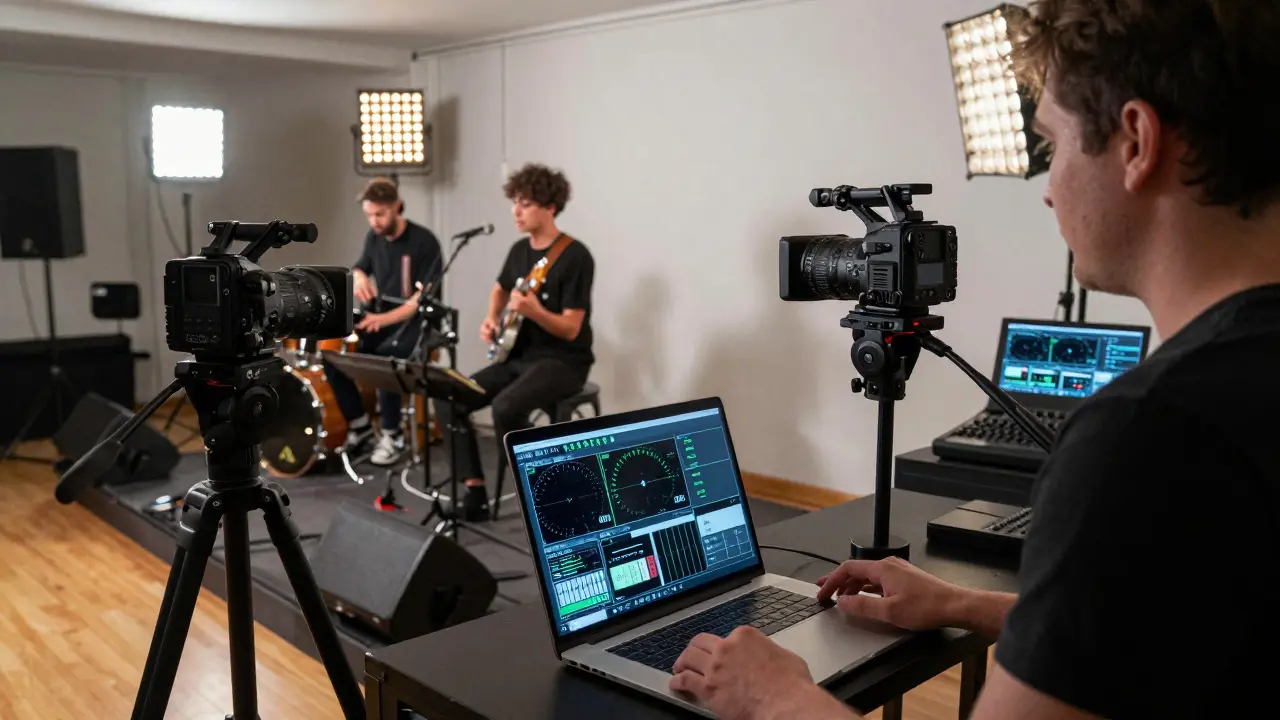
Use two cameras if you can. One wide shot for the full stage, one close-up on the lead singer or main instrument. Switch between them manually with a USB capture card like the Elgato Cam Link 4K. Plug your camera into the capture card, then into your computer. Open OBS Studio (free) and add each camera as a source. You can even add lower thirds with your band name or song titles.
Pro tip: Disable auto-focus and auto-exposure on your camera. Set them manually. A camera that refocuses mid-song during a quiet ballad will ruin the mood.
Before you go live, test everything. Play a song. Watch the audio meters. Check for latency. Record a 5-minute test stream and watch it back. Does the audio sync with the video? Is the bass too muddy? Are the lyrics clear? Fix it now, not during the show.
Set your bitrate to 6000 kbps for 1080p60 on YouTube. Lower if your upload speed is under 15 Mbps. Use a wired Ethernet connection, not Wi-Fi. Even the best Wi-Fi can drop packets under load. If you must use Wi-Fi, switch to 5GHz and disable background downloads.
Use a wired Ethernet connection. Always. If you’re streaming from home, plug directly into your router. If you’re at a venue, ask if they have a dedicated Ethernet port for performers. If not, bring a portable hotspot with a strong cellular signal-like the Netgear Nighthawk M6. Don’t rely on public Wi-Fi. It’s unpredictable and often throttled.
Pro tip: Turn off all background apps. Close Zoom, Slack, Spotify, and browser tabs. Even your antivirus scan can steal bandwidth. Use Windows’ “Game Mode” or macOS’s “Low Power Mode” to prioritize streaming.
Use YouTube’s Super Chat feature or Twitch’s Bits. These let fans pay to highlight their messages. Set a goal: “If we hit $100 in Super Chats, we’ll play an acoustic version of our next single.”
Don’t just stream and disappear. Announce the stream ahead of time. Post on Instagram, TikTok, and your email list. Use countdown stickers. Share behind-the-scenes clips the day before. Make people feel like they’re part of something special.
Record locally. Always. Use OBS to record your stream to your hard drive while streaming. That way, if the stream cuts out, you still have the full performance. Upload it later as a VOD.
Keep a backup battery pack for your camera, phone, and laptop. Bring extra XLR cables, USB cables, and power strips. Pack a portable USB audio interface as a backup. If your main interface fails, plug a Shure SM58 directly into your laptop via a USB mic adapter.
If you lose internet, switch to mobile hotspot. If your computer crashes, have a second device ready-like an iPad with StreamYard open and logged in. You can start streaming again in under a minute.
Check your analytics. How many people stayed until the end? What songs got the most comments? Use that data to plan your next show. Maybe you didn’t realize “Midnight Drive” was your fans’ favorite until you saw 300 Super Chats for it.
Streaming a live performance isn’t magic. It’s preparation. It’s knowing your gear. It’s testing before you go live. It’s caring enough to make sure your fans hear every note clearly. Do this right, and your next stream won’t just be watched-it’ll be remembered.


Aafreen Khan
yo i tried streaming my band last week and used twitch bc it felt more 'authentic' 😅 turns out my bass sounded like a fax machine. learned the hard way that youtube live is the only way to go. also, never trust wifi. i was on 5ghz and still lost audio for 12 seconds during the bridge. 🥲
Pamela Watson
you dont need all that fancy gear. just use your phone and zoom. i streamed my solo acoustic set and got 2k views. no interface, no obs, just my iphone 12 and a tripod. people loved it. stop overcomplicating things. 🙄
michael T
this guide is literally a 10-page ad for obs studio and focusrite. i’ve done 47 live streams and 43 of them were on a $30 usb mic and a $50 webcam. the real secret? being present. your fans don’t care if your audio is 24-bit 48kHz - they care if you looked them in the eye and screamed ‘I’M STILL HERE’ during the chorus. also, i once streamed with a broken cable and a dying battery and it went viral because i laughed through it. stop chasing perfection. be human.
Christina Kooiman
There are multiple grammatical errors in this post. For instance, 'audio cutting out, video lagging, viewers dropping off, or worse, your entire set getting interrupted' - this is a comma splice. Also, 'it caps at 4K resolution' should be 'it caps at 1080p resolution.' And 'you need more than a USB mic plugged into a laptop' - the phrase 'more than' is incorrectly used here. It should be 'you need something more than...' Also, 'you’re distorting' - contraction usage is informal and inappropriate for instructional content. I am genuinely concerned about the quality of advice being disseminated when basic language rules are ignored.
Stephanie Serblowski
i love how this guide balances technical precision with emotional resonance 🙌 like, yes, obs is king - but the real magic? when you say 'thank you, maria, for the $5' during the quiet part of 'Waves' and the whole chat lights up. that’s not tech - that’s community. also, if you’re using a Shure SM58 on kick drum, you’re doing it wrong. try a beta 52A. or a d112. or a pillow. (yes, a pillow. i’ve seen it work.) 🎧🪵
Barbara & Greg
The commodification of artistic expression through platform-specific monetization tools such as Super Chat and Bits is a deeply troubling trend. One cannot help but notice the implicit assumption that emotional connection must be mediated by financial transaction. Is the value of live music truly reduced to the number of dollars viewers are willing to pay to have their names displayed? This is not progress. This is alienation dressed as engagement.
selma souza
You state 'use a wired Ethernet connection. Always.' Yet you fail to define what constitutes 'wired.' Is Cat5e sufficient? Or must it be Cat7? Also, you say 'disable auto-focus' - but on which cameras? The Canon EOS R50? The iPhone? The Sony ZV-E10? You provide no model-specific instructions. This guide is dangerously incomplete. And you used 'laptop' as a noun and verb interchangeably. Unacceptable.
Frank Piccolo
streaming is for amateurs. real musicians play venues. real artists don’t need to 'engage' their 'audience' like they’re running a TikTok ad. if your music is good enough, people will show up. if you need a $500 audio interface to make someone care, your songs are weak. also, why are you using obs? just record on your phone and upload. done. stop over-engineering. you’re not NASA. you’re a guy with a guitar in his garage.